A couple of weeks ago, as we brainstormed possibilities for meatless Lenten meals, Kent recalled a dish that he had eaten everyday for three months in the Dominican Republic. Since giving up meat for Lent, Dominican Habichuelas have become a staple in our house. On Kent’s last day in the small village, he skipped work and stayed home with his Dominican mom so he could learn how to make habichuelas.  The picture above is the kitchen where Kent learned to cook this meal. Notice the tiny stove top/oven his mom, brother and sister are standing next to.
 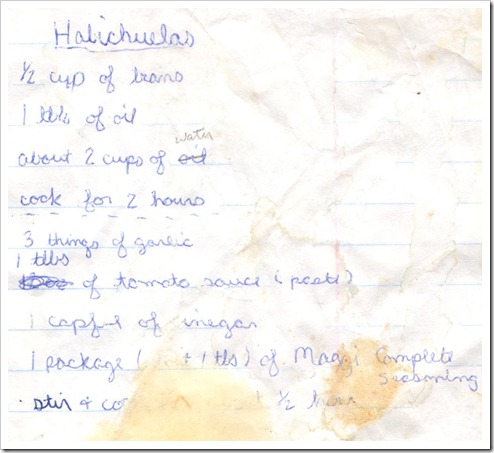 Kent said, “I think I still have that recipe somewhere.” I thought to myself…We have trouble locating a recipe we printed last week let alone finding one you wrote down 18 years ago while in the D.R. Kent left the room and to my complete amazement, no more than 3 minutes later, he returned with the recipe in hand. This was for a single serving that his mom made that day. Undoubtedly, this recipe will live on in our repertoire of favorites beyond the Lenten season.
 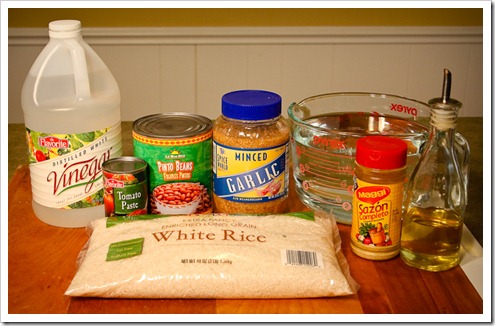 Ingredients: Pinto Beans, tomato paste, water, vinegar, white rice, sazon seasoning (a general Mexican seasoning mix that includes cilantro, achiote, garlic, salt), garlic and olive oil.
 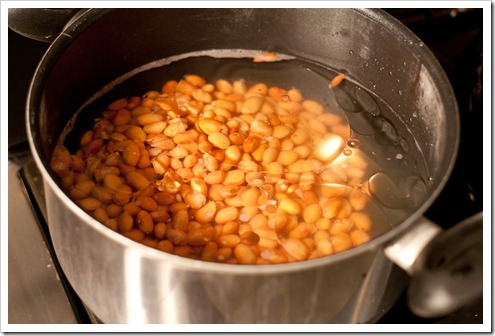 Drain and Rinse a large can of pinto beans. Add 8 c. water, beans and 4T. olive oil to a large stock pot. Boil for 1.5-2 hours until the beans are soft begin to crack open.
 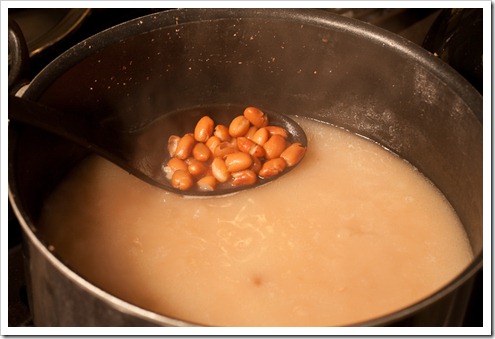 After 1.5-2 hours the water will be cloudy and some of the beans will be cracked.
 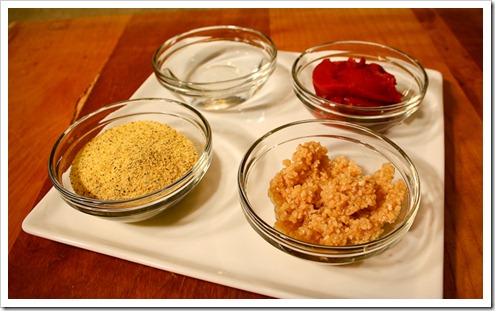 To the stock pot add 3T. vinegar, 4T. tomato paste, 4.5t. minced garlic, 2 1/2T. of Sazon (depending on your seasoning preference) and bring back up to a boil for 30 minutes. This is when we start to make the white rice. We make 2c. dry rice. Follow directions on the bag.
  After 30 minutes to liquid will have reduced down further and turned a deeper red color.
 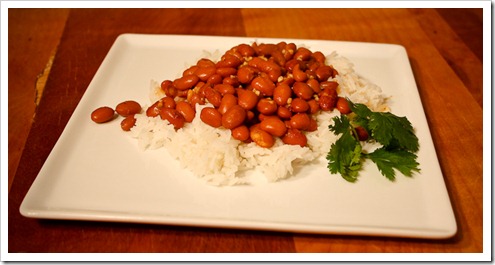 Cilantro makes a perfect garnish, but isn’t necessary. I like to add a little sour cream on top of mine and eat it with a warm tortilla shell. We mix the leftover rice and beans together and store for leftovers. This reheats very well. This meal is megasimple and megafrugal. We estimated this makes 4-6 servings for under 3.00!
Sunday, February 28, 2010
Dominican Habichuelas
Wednesday, February 24, 2010
Pineapple Slicing Tutorial
Do you know the easiest way to slice a fresh pineapple? When Kent was in the Dominican Republic for three months in college he visited a pineapple farm and learned how to slice up a pineapple. We had fresh pineapple with our shredded Mission Kitchen BBQ beef sandwiches on Valentine’s day and I documented the process. Excuse our very wilted overly ripe pineapple. It’s not looking so pretty
on the outside, but the inside was still sweet and juicy. 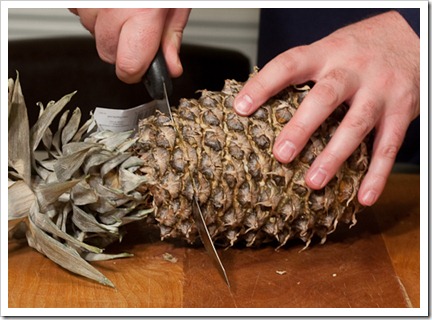
Slice off the top. 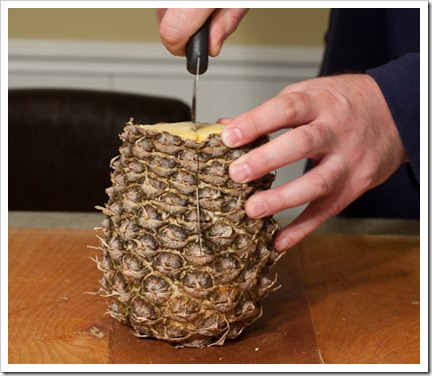
Stand pineapple right side up and slice down the middle. 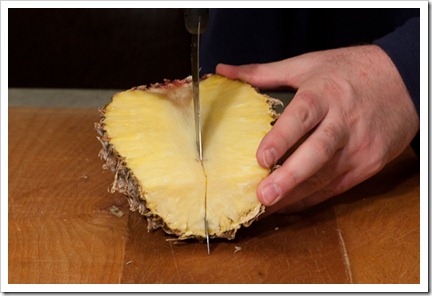
Cut both halves… 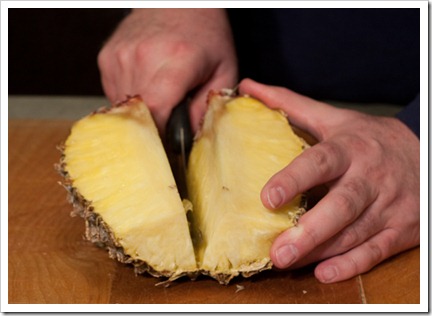
in to quarters. 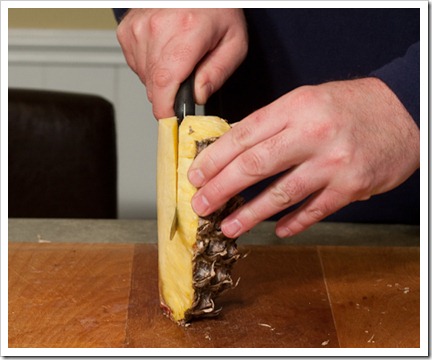
Stand each quarter up and slice off the core for disposal. 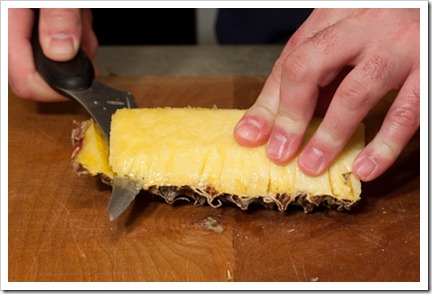
Slice each quarter from bottom to top…like so. Kent used a filleting knife and it worked well. 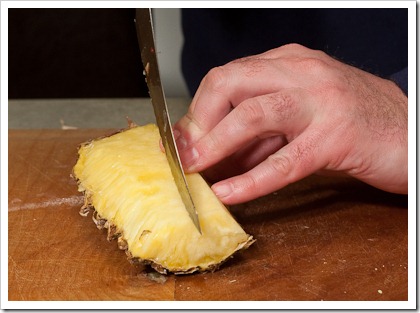
Slice the quarter down the middle. 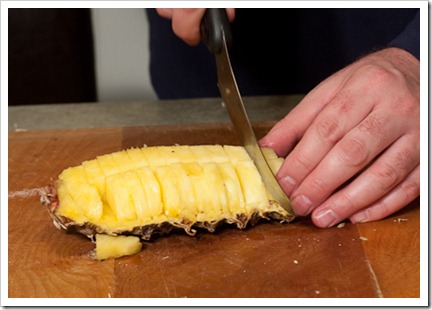
Slice across into small pieces. In the Dominican Republic the pineapple would remain resting on the skin for serving. 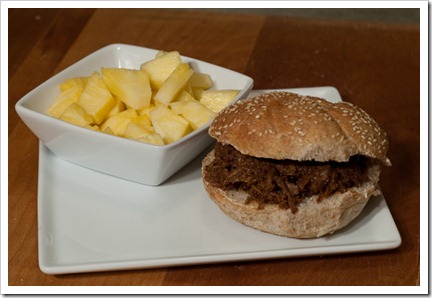
Monday, February 22, 2010
Mission Kitchen BBQ Sauce
This post isn’t very timely because we gave up meat for Lent. Nonetheless, it’s worth posting because I might just miss Mission Kitchen BBQ sauce, more than meat during this Lenten season! It’s that good! Mission Kitchen BBQ Sauce is a local product with a global conscience dedicated to empowering the population of San Jan de la Maguana in the Dominican Republic. The concept for this product was a simple and uncomplicated sauce and label, consistent with the lifestyle of those living in the Dominican Republic. This sauce is locally produced with a unique taste and global conscience…it doesn’t get better than that!
I made shredded beef sandwiches for Kent on Valentine’s day. Because I used the Mission Kitchen BBQ sauce that has a perfect blend of ingredients for a sweet and zesty flavor, the whole process was megasimple! Now to find some vegetarian recipes that use BBQ sauce?!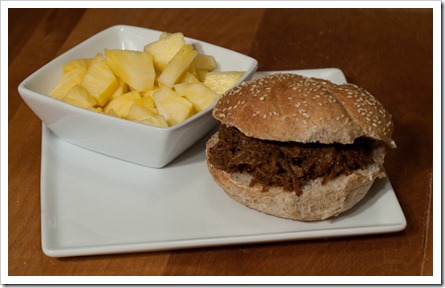
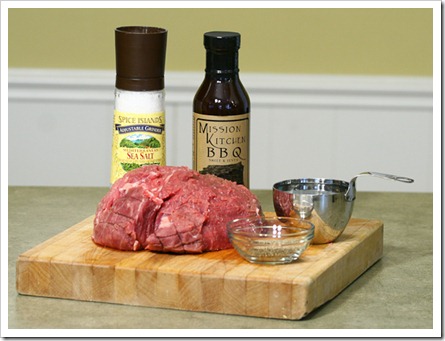
The ingredients:Rump Roast, Mission Kitchen BBQ, water, salt and pepper. 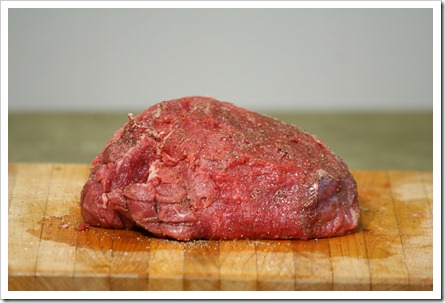
Trim any excess fat and rub a generous amount of salt and pepper on all sides of the roast. 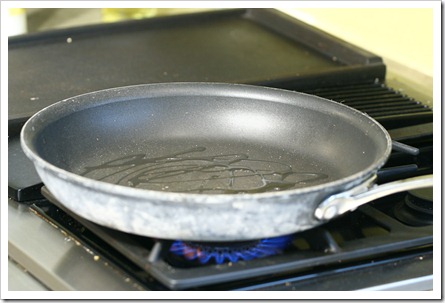
Heat oil in a saucepan… 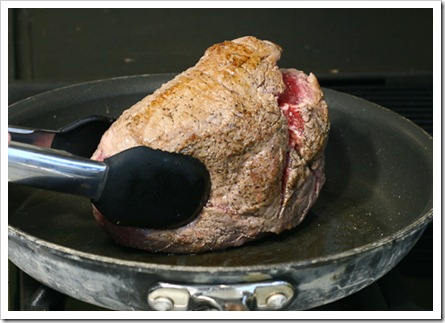
and sear meat on both sides and all around edges for 1-2 minutes per side/edges. 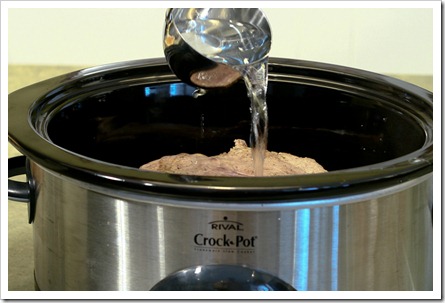
Place roast in preheated crock pot and add 1. cup of water. 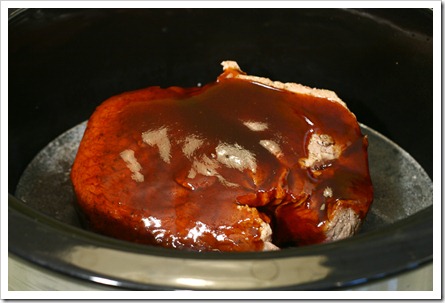
Add 1c. of Mission Kitchen BBQ sauce. Cook on high for 1 hr and on low for 3 hours. Cooking time may vary depending on the size of your roast. This one was approximately 2-3 pounds. 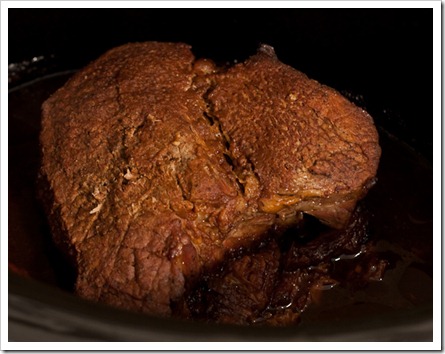
The roast will look like this when it is done. 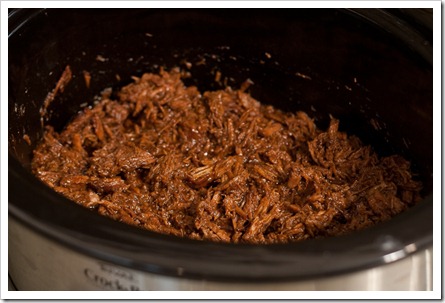
Shred the meat in the crock pot with two forks. Add approximately 1/4c – 1/2 c. of water to the sauce left in the Mission Kitchen BBQ bottle. Shake and pour over shredded beef. Let continue to cook for an hour in crock pot. 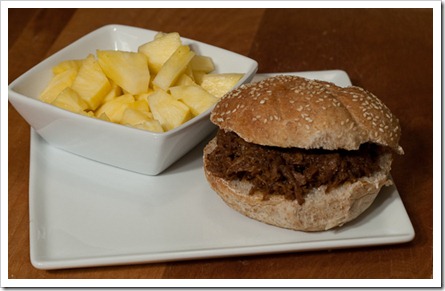
Visit the Mission Kitchen BBQ Sauce Website to learn more and find out where you can purchase it in your area.
Saturday, February 20, 2010
Guest Post {1} Le Creuset Review by Jill Feltenberger

After finding out that I received some Le Creuset cookware for Christmas. Megan asked if I’d be interested in writing a review of them for megasimple. Of course I would! Once I had a chance to play around with these new top-of-line pieces, (albeit purchased at an outlet store) I found that I had so much to say about these beauties!
Taking the four new, cobalt blue pieces and replacing my stainless steel set began the process of kitchen simplification and prioritizing. Although I was shocked that my husband spent so much on these (even at the discounted price), it quickly becomes apparent that these enameled cast iron pots and pans are worth their weight in, well, cast iron. With a lifetime warranty, it’s a good bet that my kids will be cooking with these long after I’ve braised my last beef roast. The enamel coating allows for super easy and quick clean up—much easier than stainless steel. The cast iron cooks slowly and evenly and can be transfer from stovetop to oven. Cooking with these, you can deglaze like the pros and serve directly from the heat-retaining dishes. If you’re like me, fewer dishes to clean makes for one happy girl! And…are you ready for this…they can go into the dishwasher!
So I’ve probably made it pretty obvious that I am enamored by my new cookware. However, I do want to make sure that anyone out there considering investing in Le Creuset, you keep a few things in mind. Firstly, these suckers are HEAVY; therefore, they need a sturdy storage space and sometimes a second person to hold or scrape. Also, do not mistake the enamel as a non-stick surface. If you’re looking to make an omelet in one of these, be prepared for some sticking. Because of this, I’ve held on to the one nice non-stick skillet I have. Other than that, guys, I can’t think of any other “cons”. Once you get over the price-shock and realize that these beauties will be around longer than you, it all starts to make sense.
Bottom line, if you’re a casual cook who relies on Hamburger Helper and frozen chicken nuggets to get you through the week, you probably won’t see the allure of this cookware nor need to make the investment. But for those of you who love your food and cooking it, I would recommend you look into treating yourself. By the way, you won’t find any other cookware with so many delightful colors to choose from. Pretty and functional. It doesn’t get any better than that! 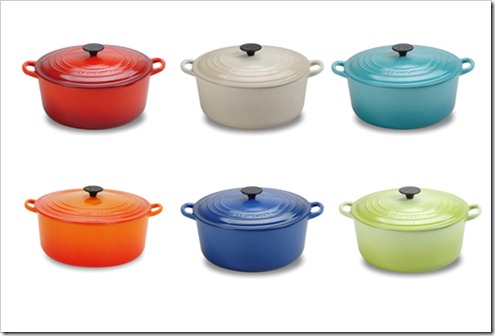 Thanks for the great review! I don’t currently own any Le Creuset, but if I did I’d want a variety of colors. Le Creuset wears color very well.
 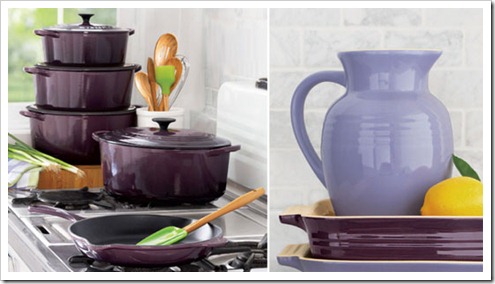 Here are two recently released colors, cassis and lilac.
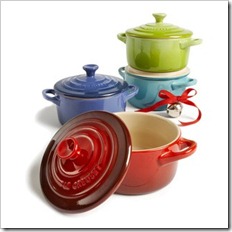
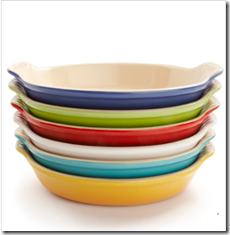
As Jill mentioned, there is a bit of a price shock associated with the Le Creuset cast iron pieces. The mini cocottes and au gratin pieces from the stoneware line are equally as colorful and won’t break the bank.
This YouTube video shows how the cast iron pieces are produced.
Tuesday, February 16, 2010
Fat Tuesday
This food network truffle brownie recipe is megasimple. I enjoy watching the food network and this is one of the few recipes that I’ve actually tried to make after seeing it on TV. I’m not much of a baker, but these brownies turn out every time! It’s extremely dense and rich. The recipes says it makes 8 servings, but I recommend cutting it into at least 12 pieces. Even 1/12 is almost too rich for me. 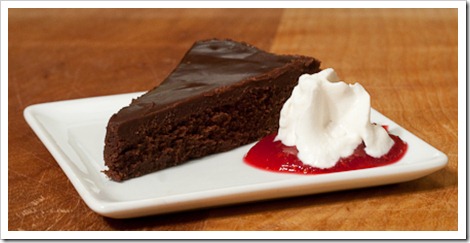
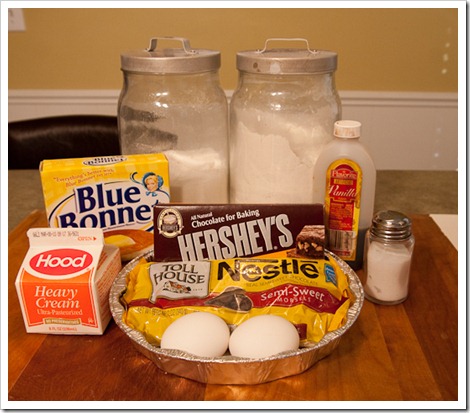
Brownie ingredients: Sugar, flour, vanilla, margarine, salt, eggs, chocolate
Ganache ingredients: heavy cream and chocolate chips 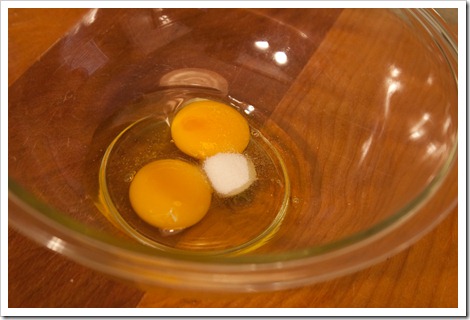
In a mixing bowl add two eggs and 1/2 tsp. salt. 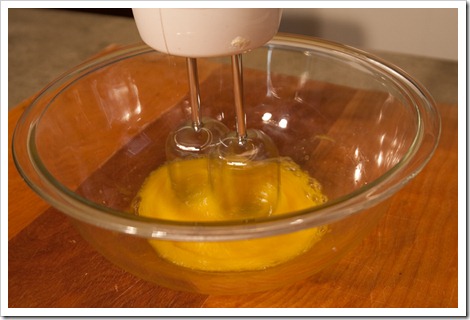
Use a mixer and beat until… 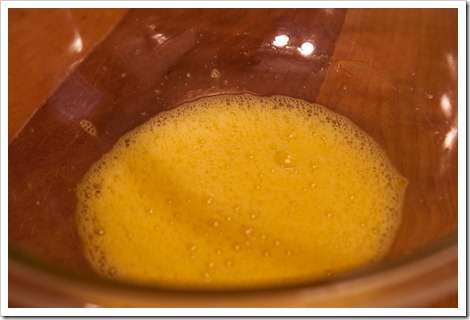
frothy. 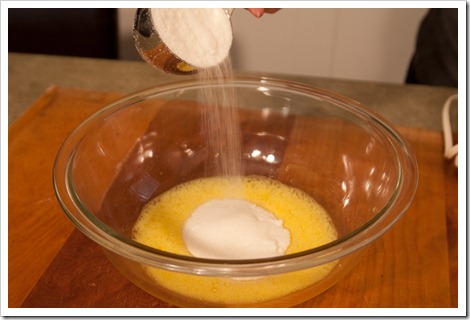
Add 1c. of sugar. 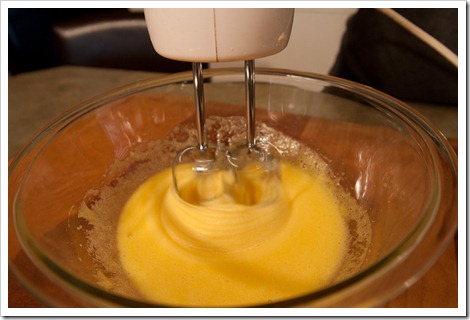
Beat until… 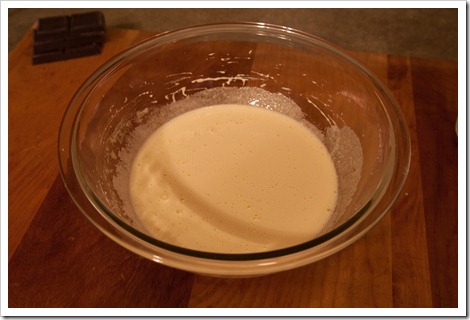
thick and pale yellow. (2-3minutes)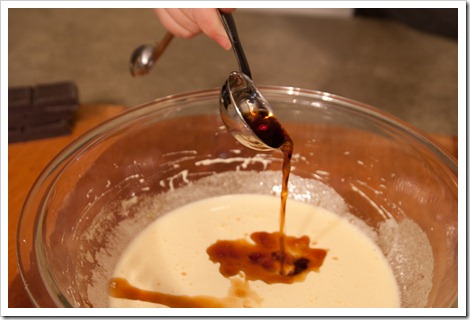
Add 1T. of pure vanilla extract and beat for 30 more seconds.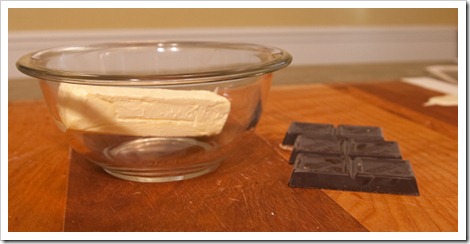
Add 1 stick of margarine and… 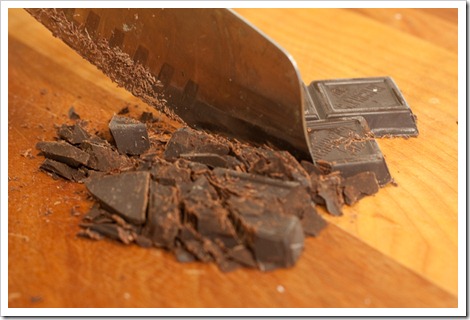
3 ounces of chopped unsweetened chocolate 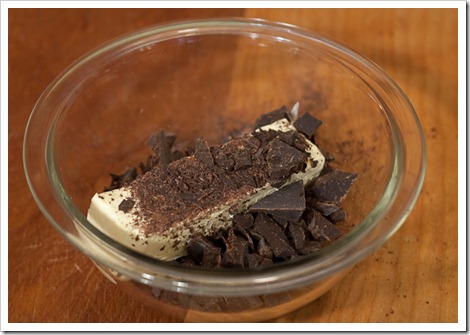
to a microwave save bowl and heat for 1 minute.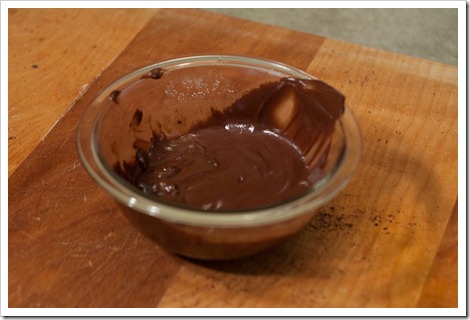
Stir until smooth.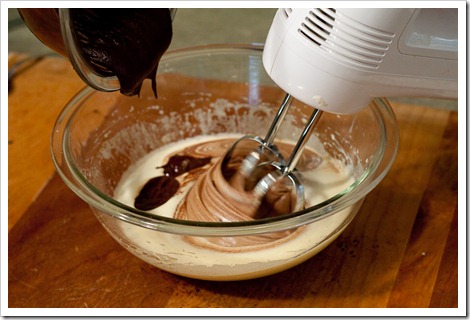
With the mixer running, add chocolate to egg mixture.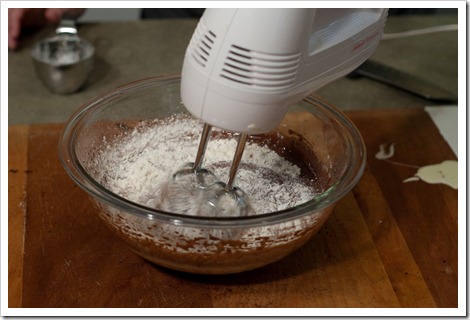
Add 1/2c. of all purpose flour and mix for 1 minute. Scrape sides and beat for 30 more seconds.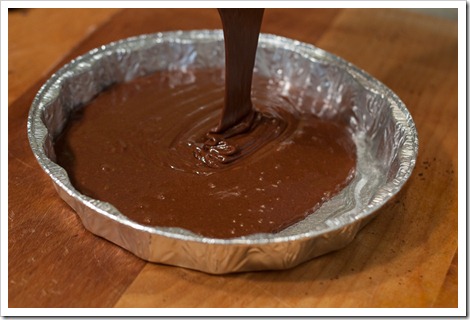
Pour in a greased round foil pan.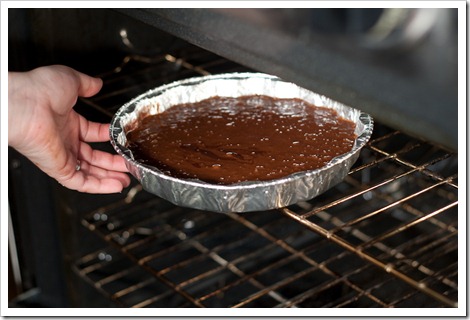
Bake in oven, on top rack, at 350 degrees for 15-20 minutes or until center is barely set. I cook my for 17 minutes. The center will be soft to the touch and a toothpick check will be gooey.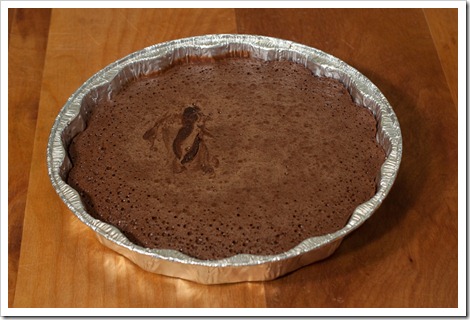
Remove from the oven and let cool.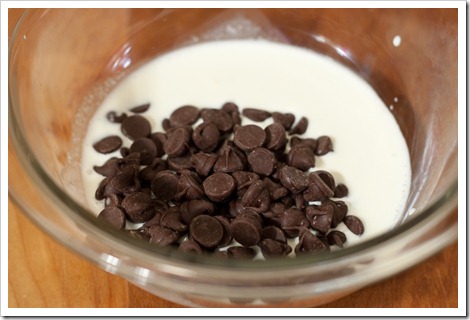
While brownies cool make the ganache. Add 1/4 c. of heavy cream and 1/2 c. of chocolate chips. Microwave for 1 minute.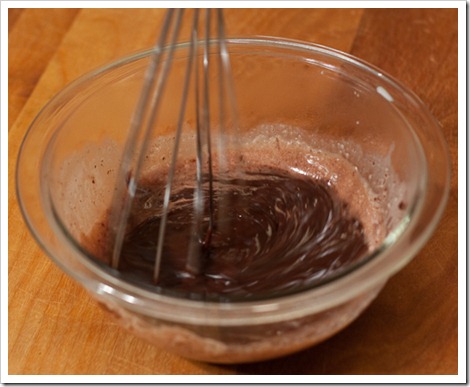
Whisk until creamy and smooth.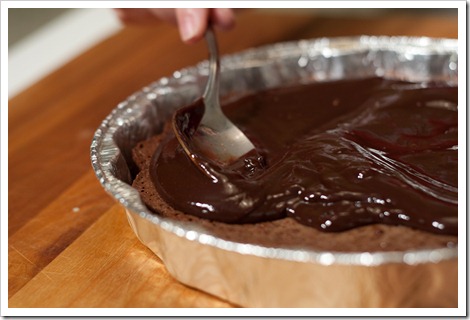
Spread over brownies and place in freezer for 1 hour. 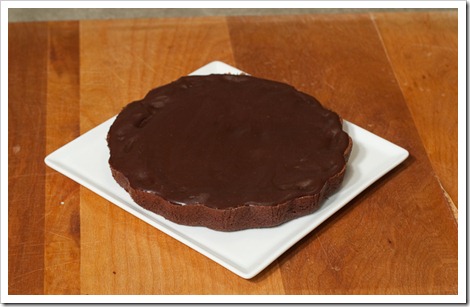
Remove from foil pan and cut while cold. Let brownies come to room temperature before serving. Find a printable version of the recipe here. I like to eat them with a little homemade raspberry jam and some whip cream on the side.


